Learning kanji with modern tools

One of the challenges that Japanese presents to the aspiring language learner is that it employs three writing systems that you really must learn. Hiragana and katakana are syllabaries in which each symbol stands for a sound. That is, they are phonetic representations of spoken words, and there aren’t that many of them to memorize – less than 50, plus some diacritical marks that modify the sounds to create additional variants.

Kanji is different. Kanji are logographic characters that were borrowed from the Chinese. “Logographic” means that each character represents an entire word or phrase. There is no longer an obvious connection between words and their pronunciation, so you must instead memorize the sound that goes with the symbol, as well as its meaning. Since there are far more words than there are syllables, there are thousands of kanji to learn. Intimidating!

Today, however, we have great technological assistance for memorizing things. Spaced Repetition Systems (SRS) have become popular for learning not just languages but also subject-specific terminology in your native language. For kanji, we have wanikani. It teaches you kanji in little doses, then tracks how long it’s been since you were tested on each one and periodically quizzes you to keep your memories fresh. Anything you get wrong comes back more often, enabling you to focus memorization effort where it’s most needed.

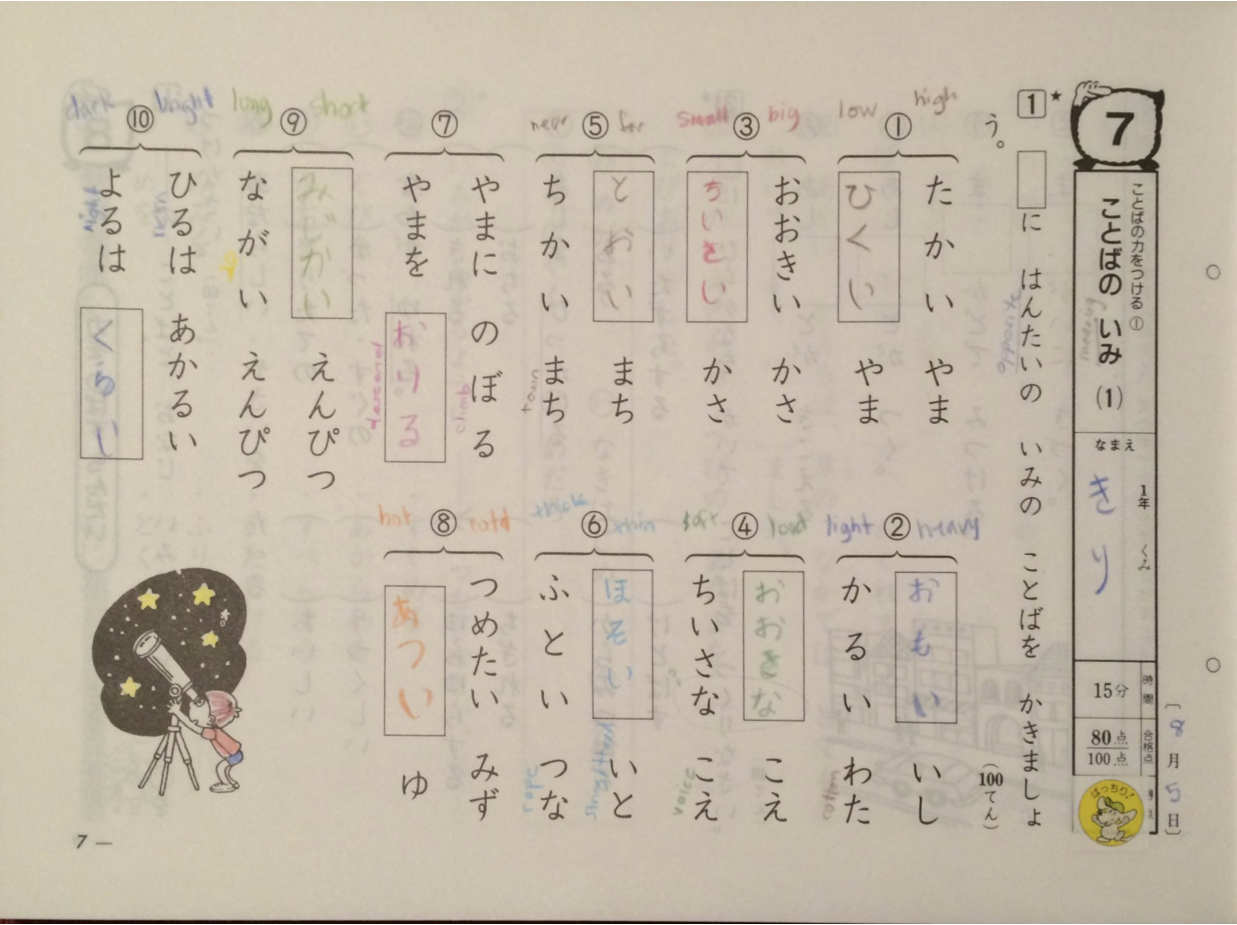
So far, after a few weeks of daily practice, I’ve learned 60 “radicals” (common kanji building blocks), 45 kanji, and 83 vocabulary words that use those kanji. I have several more under active practice and repetition. It’s fun!

Another great tool for reinforcing your kanji is the wanikanify Chrome browser extension. Once you enter your wanikani API key, this extension converts any text in a webpage using what kanji you have already learned. Here’s an example from southwest.com:

wanikanify southwest.com

You can see that the English text was literally translated into kanji whether or not it makes sense in context. 本 means “book” as in the object that you read, not to “book” a hotel. However, just seeing the reminder of what “book” is helps! And if you mouse over the kanji, a voice speaks the kanji out loud! (Here, “hon”.) It also displays the original English text that was replaced, in case you don’t remember (or the context is so odd that it doesn’t make sense).

As you learn more kanji, more of the page will be replaced with vocabulary you should be able to decode. Effectively, you are reading English in kanji, which is how kanji came about in the first place – the Japanese mapped their oral language into the Chinese characters. To actually learn Japanese, you must also be diligent about learning the pronunciation (which wanikani also quizzes you on). These tools combined make for great practice and great entertainment!

Learn Japanese writing from a native child’s perspective

At various points in my travels, I’ve picked up books for learning Japanese that are aimed at Japanese children. It is a fun challenge to try to use them in my own language learning. These books are aimed at kids who are native speakers but are now learning to write. In contrast, I already know how to write (hiragana well, still learning katakana) but my vocabulary is very small.

One book I have is titled “こくご” which translates to “national (Japanese) language.” It starts out by having you practice writing hiragana syllables and moves on to writing whole words. Some exercises have you draw lines to connect words with pictures.

The hardest parts for me are

  1. Reading the instructions (which are probably aimed at parents or teachers, since the kids are still learning to read and write).
  2. Coming up with the requisite vocabulary, which is simple but still a stretch for me.

For example, here is lesson 7 (click to enlarge):

Hiragana

I am using colored pencils because… why not use colored pencils? Much more fun that way!

You work right to left and top to bottom. First I wrote my name (キリ) and the date (month 8, day 5). The instructions translate as “in the box, opposite of meaning of word, let’s write.” So then I got to figure out what one phrase meant (read vertically) to figure out what to put in its vertical partner that would mean the opposite. #1 is “high mountain” so I entered “low” (mountain).

After completing a lesson, you get to put a sticker on it! The book came with a page of over a hundred stickers. I used a yellow mouse sticker on this one. :)

I also have “The Giving Tree” by Shel Silverstein in Japanese. Someday I hope to be able to read it!

Flying to Santa Monica and Hawthorne… and over LAX!

Happy National Aviation Day!

I got to commemorate this day by visiting two new airports. My first stop was the Santa Monica airport (SMO). First I did a bunch of research on the SMO website. I appreciate the amount of information available, but this airport has so many rules and dire warnings (including written warnings and fines) that it is rather intimidating to plan your first flight there. They have specific procedures that include the following instruction:

“Maintain pattern altitude or above as long as practical. Approach as steeply as is safe and aim for a point further down the runway if your aircraft is capable.”

That is, they would like you to start high, land steep, and go long… all things one generally tries to avoid.

At any rate, I took off from El Monte and got flight following to SMO at 2300′. I had my GPS set with a direct route to SMO, but from my pre-flight planning I also knew that all I needed to do was follow the 10 freeway and stay under the LAX Bravo airspace (starts at 2500′). I kept it at 2300′ and was mindful of my heading. I didn’t encounter any other traffic, and it was a nice ~25-minute flight to SMO. I flew right between downtown L.A. on my left, and Dodger Stadium on my right:

Downtown LA Dodger Stadium

While 2300′ is still at least 2000′ feet above the ground, boy, it feels low when you are flying over the city! (I did not fly over the skyscrapers.)

I got a straight-in approach to runway 21 at SMO. It is a big, wide runway! I landed and discovered that they don’t have many painted taxiway exits. Instead you can exit the runway wherever it is paved. I got off the runway (I thought). It turns out that the huge asphalt expanse is still part of the movement area so you have to keep going and get on the taxiway itself before you’re officially clear of the runway. The controller prodded me and I got myself onto the taxiway. After I parked, I noticed several other arriving planes hesitate in the same way and then have to be urged to keep going. :)

A woman with two small children was watching planes land from the observing deck which is right next to transient parking. She was so thrilled that I had parked next to them (I guess because they could see a plane up close?) and wanted to know if I did it for their benefit!

I picked up Manuel and we took off, now headed for the Hawthorne airport (HHR). What lies between SMO and HHR is a really big airport called LAX. LAX offers a couple of ways that small planes can cross over it at low altitudes. The one we decided to use is called the “mini route”. I had flown it once before with my instructor (and my mom), but not as a licensed pilot! All the responsibility for an accurate and safe flight was on me.

SMO has strict instructions for how you depart it on runway 21: you take off, then at the end of the runway you turn 10 degrees to the left to get over a golf course, then turn to heading 225 to head out to the beach. You are not allowed to turn left before Lincoln Ave and you’re not allowed to turn right before the shore. We flew out over the beach and then kept climbing in a right turn to get us up to 2500′. I had plugged in the SMO VOR so we could fly precisely the right heading, 128 degrees straight at LAX. SMO handed us over to LAX and then I got to read back LAX’s magic words: “Cleared into class Bravo, maintain 2500.” We flew over all of LAX’s runways and planes and terminals, and then we were out the other side of the Bravo airspace. LAX handed us over to HHR, and I started descending (Hawthorne is RIGHT NEXT to LAX).

2016-08-19-laxI landed at HHR (my first time there too! It’s also a nice wide runway!) and we switched seats. Manuel took off and flew us to the Palos Verdes practice area and did some very nice steep turns. Then he took us in to the Torrance airport (TOA) which I also had never been to. Then we took off again and headed back north to SMO. That meant traversing the LAX mini route a second time, this time with Manuel at the controls. Because it’s the same altitude in both directions, it’s like a one-lane tunnel; you don’t get cleared in if someone else is coming in the other direction. (You can however get cleared in behind someone else going the same direction. There are rules for how to pass if you’re going faster than the plane in front of you.)

The picture at right is the view looking down on LAX as we crossed over northbound!

Manuel landed the plane at SMO. Unlike most airports in the area, SMO charges a landing fee, which will probably be two landing fees since we landed twice in that plane. I tried to find a way to pay it there, but apparently it will be auto-billed at some later point. Huh.

I flew back to El Monte (EMT) solo. Again I got to take off, fly over the golf course, head to the beach, and turn before heading back east. The SMO tower was giving flight following to EMT for two other planes, so he added me to his list; I never switched to SoCal. I also never got any traffic alerts – hopefully because there was no traffic :) Around downtown the SMO controller told me to contact EMT, who told me to make right traffic for 19. This was the first time I’ve approached EMT from the southwest and it was great! I made a precise 45-degree entry to the downwind, and I was cleared #3 for the runway. Uneventful landing and I was done! Fantastic day!

Learning Japanese through Spanish

I love to learn new languages, and I’ve been working on my español for a few years now. But I’m also tempted by Japanese. I took some classes on Japanese years ago, and I’ve been lucky enough to visit Japan twice – each time renewing my interest in the language! But who has time to learn two languages?

It occurred to me that there might be a way to learn them both AT THE SAME TIME. What if I tried to learn Japanese… in Spanish? That way I could leverage my (larger but still only lower intermediate) understanding of Spanish to learn Japanese.

I sought out some Japanese language learning materials aimed at Spanish speakers. They learn Japanese too, right? And I found this delightful website called Hablemos en japonés. It uses anime-style graphics and schoolgirl voices to illustrate sample dialogs. Each 10-minute lesson is conducted in Spanish (with adult Spanish voices)!

Here is a screenshot from Lesson 1 (I encourage you to check out the whole thing):

Soy Anna

I’ve gone through the first three lessons and enjoyed them greatly. (And already I learned that “haga clic” is how you tell someone to (make a) click!) At this level I already know both the Spanish and Japanese lesson content, but refreshers never hurt, and listening to the explanations in Spanish requires concentration. But who doesn’t want to know how to ask where the bathroom is in multiple languages?

I still haven’t figured out why Anna, who’s from Thailand, is somehow a native Spanish speaker (she writes in her diary in Spanish). But it’s convenient for me! There are 48 lessons total – enough to keep me busy for a while. :)

さようなら and adiós!